Registration in Nimbus
Overview
This guide describes the steps you, as a new Nimbus user, need to follow in order to be able to Login to Nimbus, after you have been signed up.
Please use the Chrome web browser, as it is currently the most well-tested client.
Sign-up
The process begins when your group administrator creates a new Nimbus account with your email address.
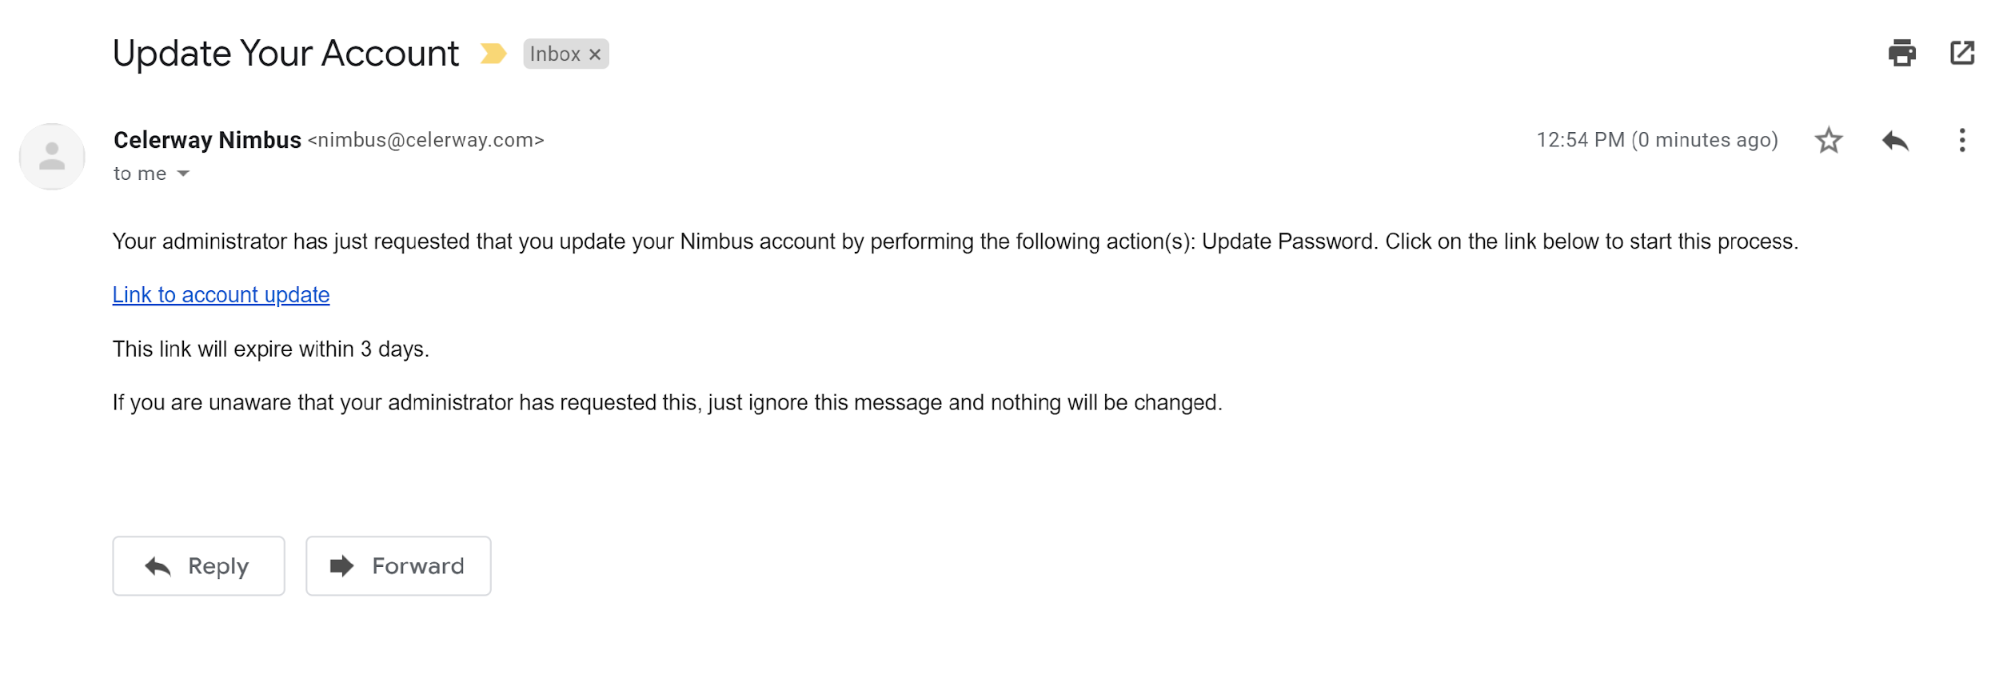
Reset password email
You will receive an email with instructions to reset your Nimbus password. Click Link to account update to start:
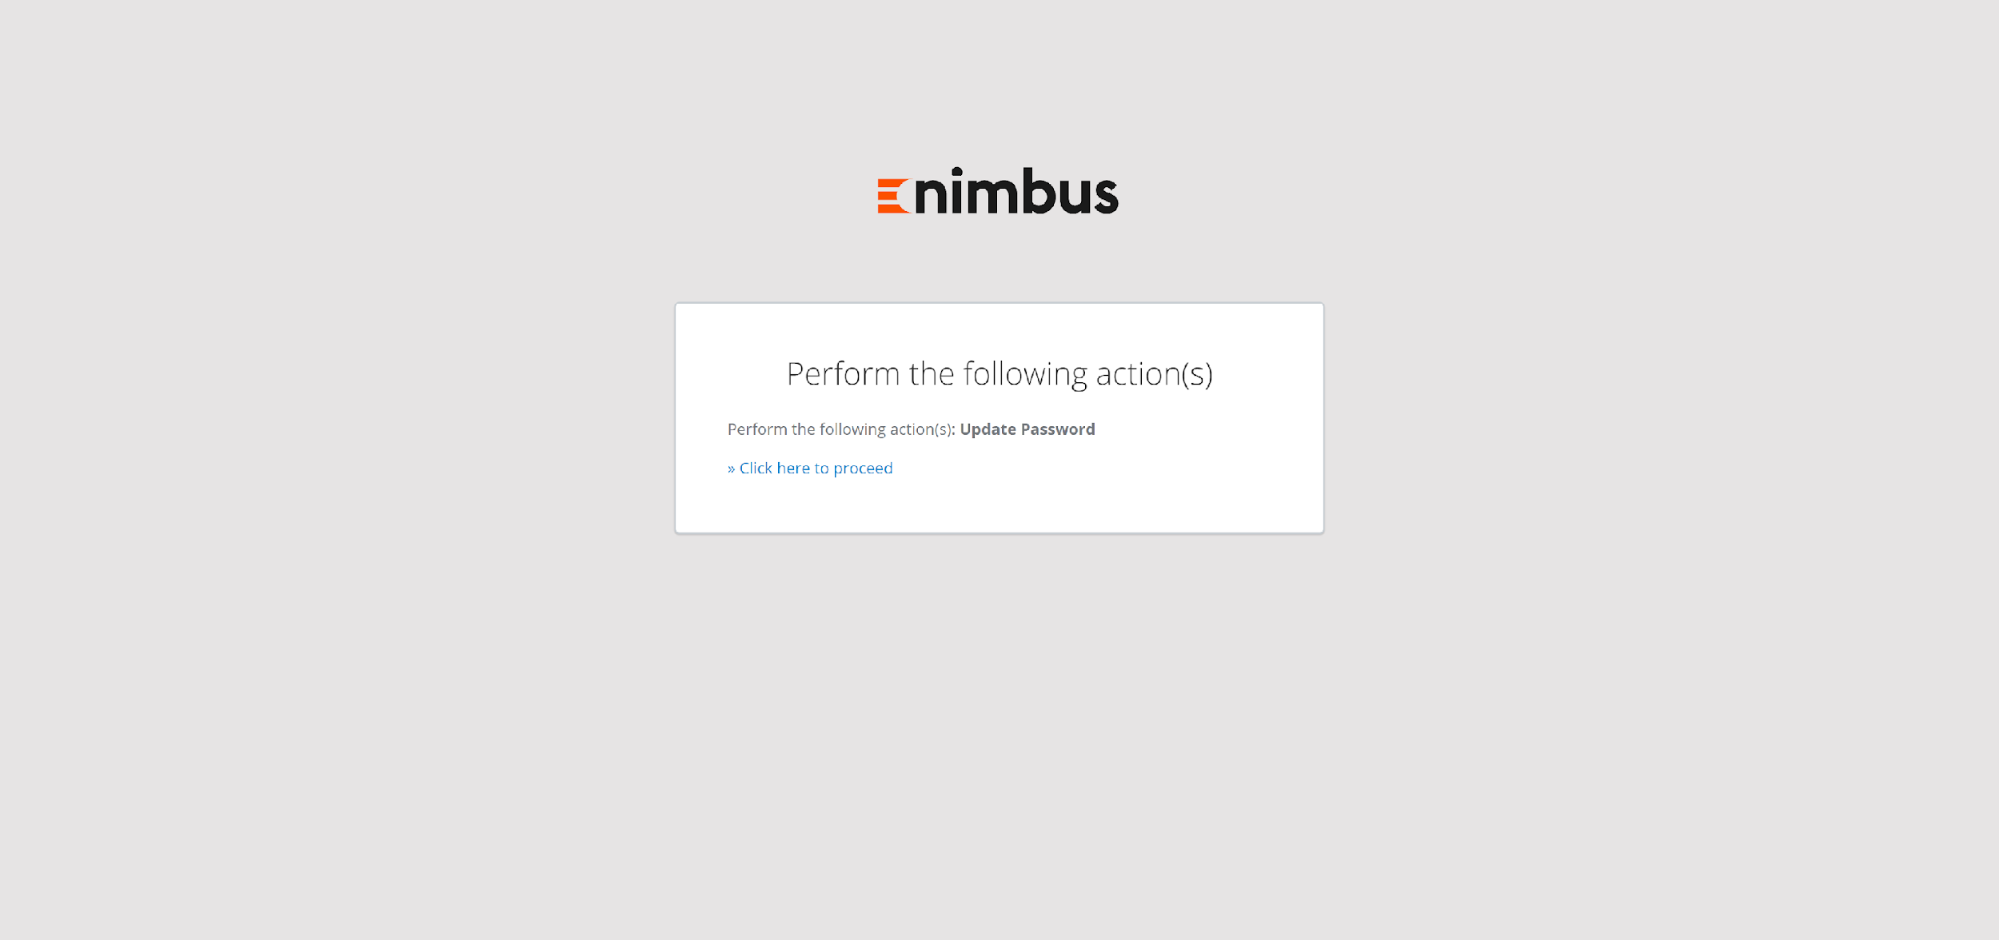
You will be redirected to the Account update page. Just press Click here to proceed:
Setup new password
On the next page, you will be asked to enter a new password. Fill in New Password and Confirm password fields then press Submit:
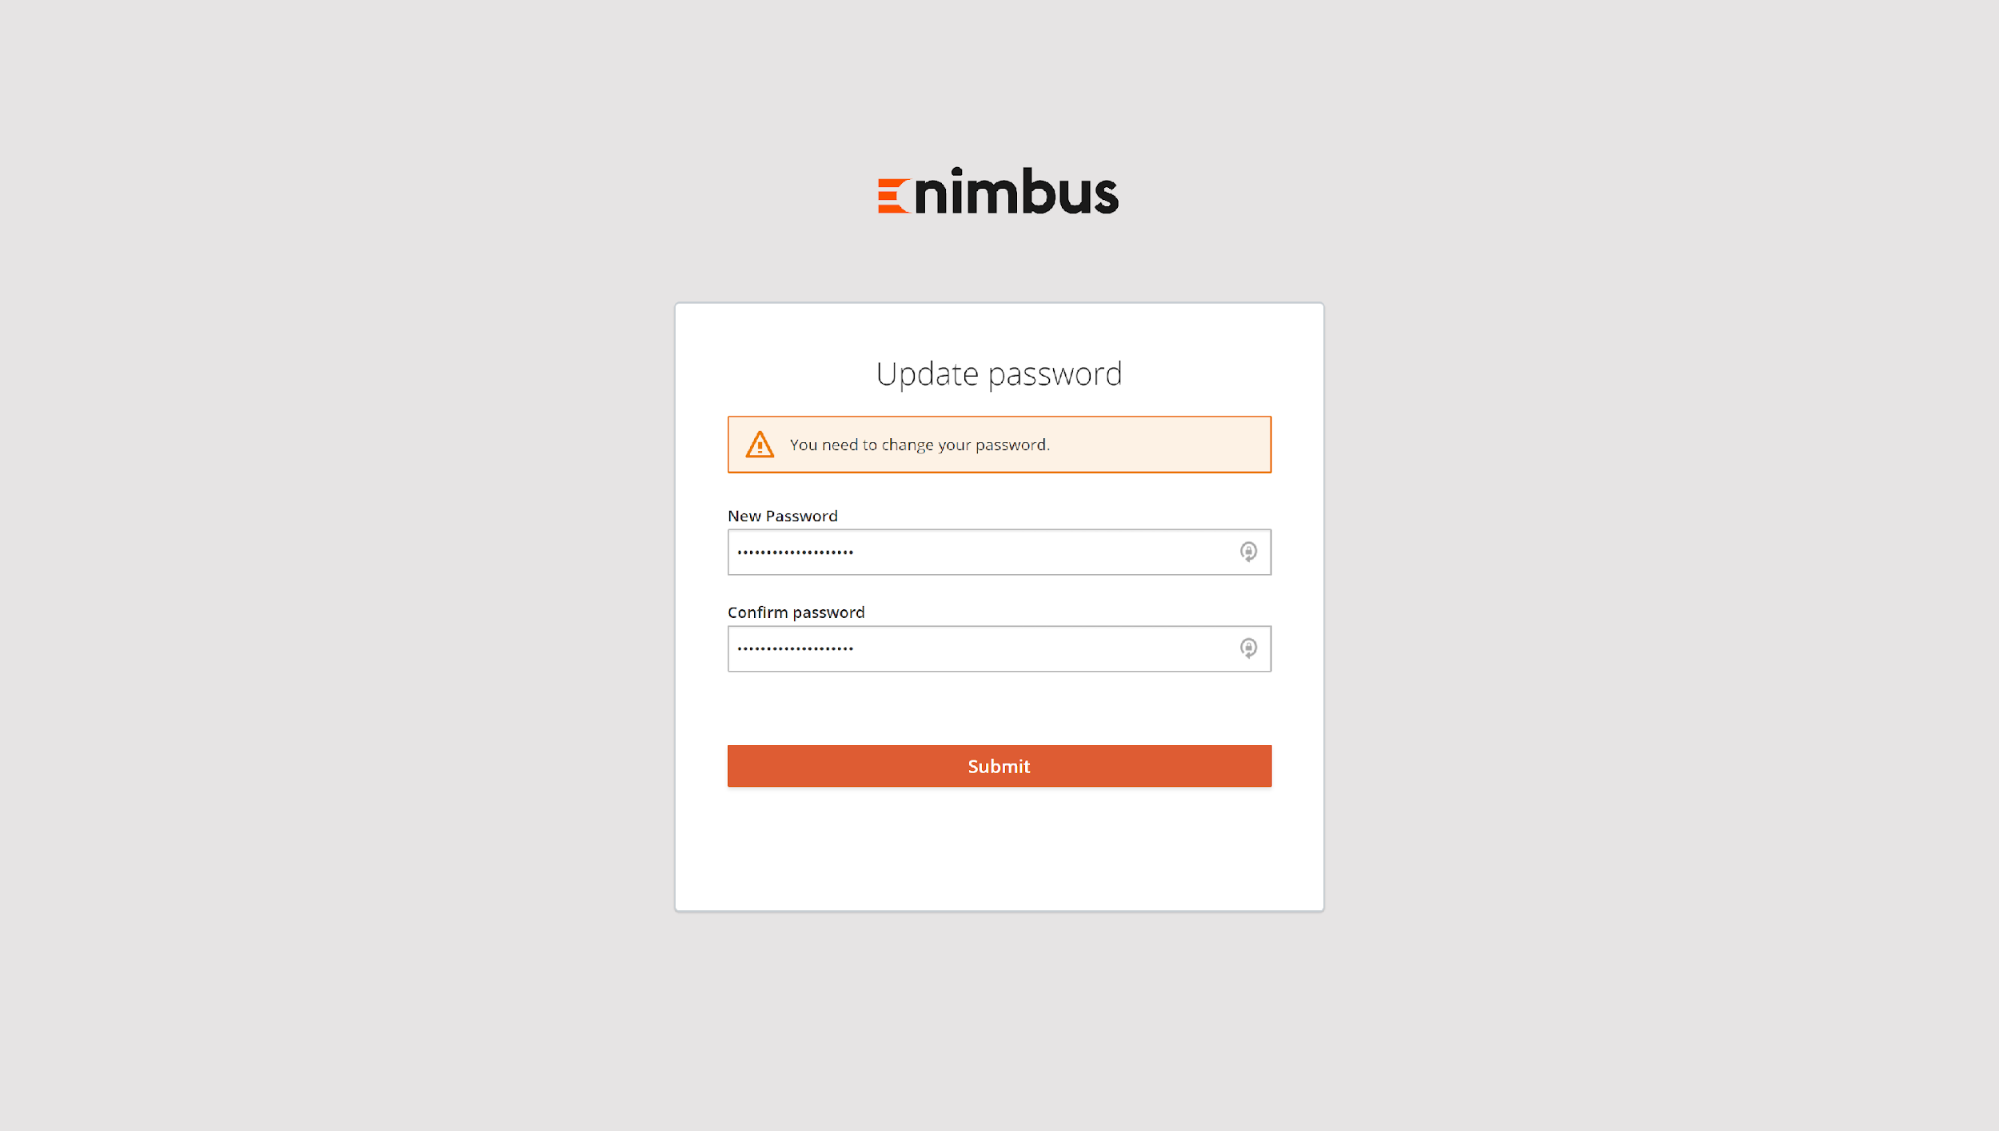
Nimbus requires that user passwords:
- have at least one uppercase character
- have at least one lowercase characters
- have at least one digit
- is at least 8 character long
- is not user email address
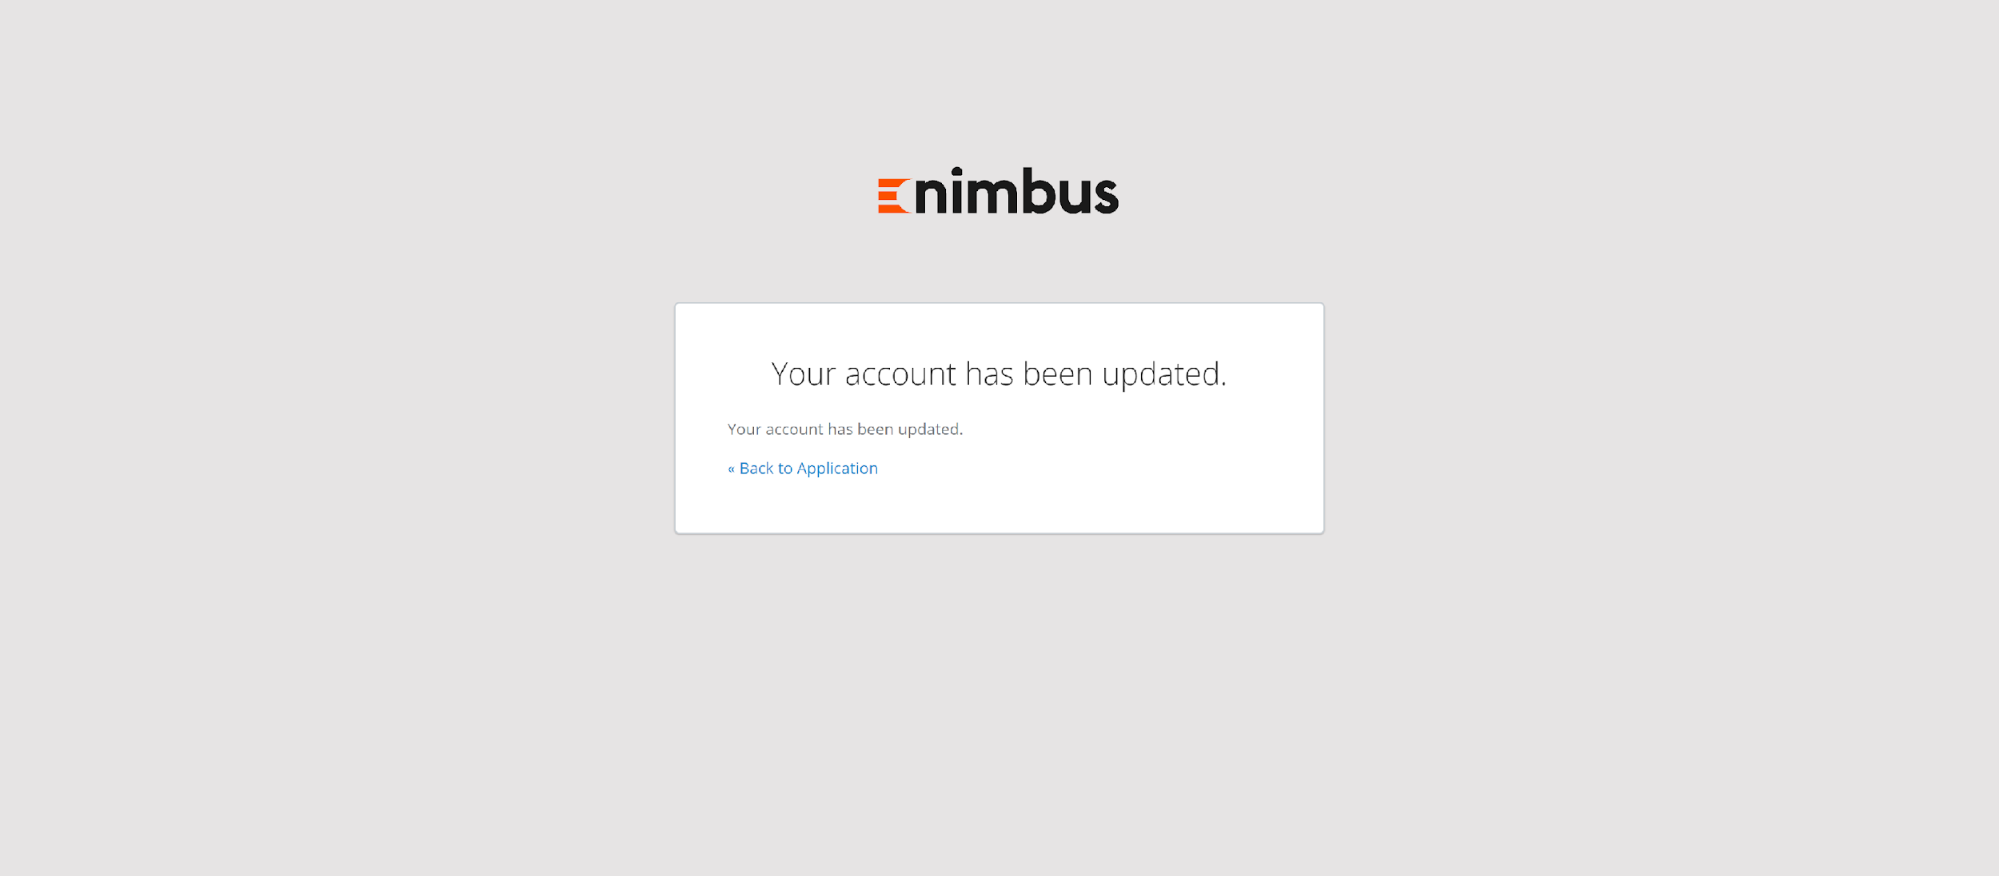
If the password is accepted, the confirmation page will be shown. Press Back to application:
Initial login
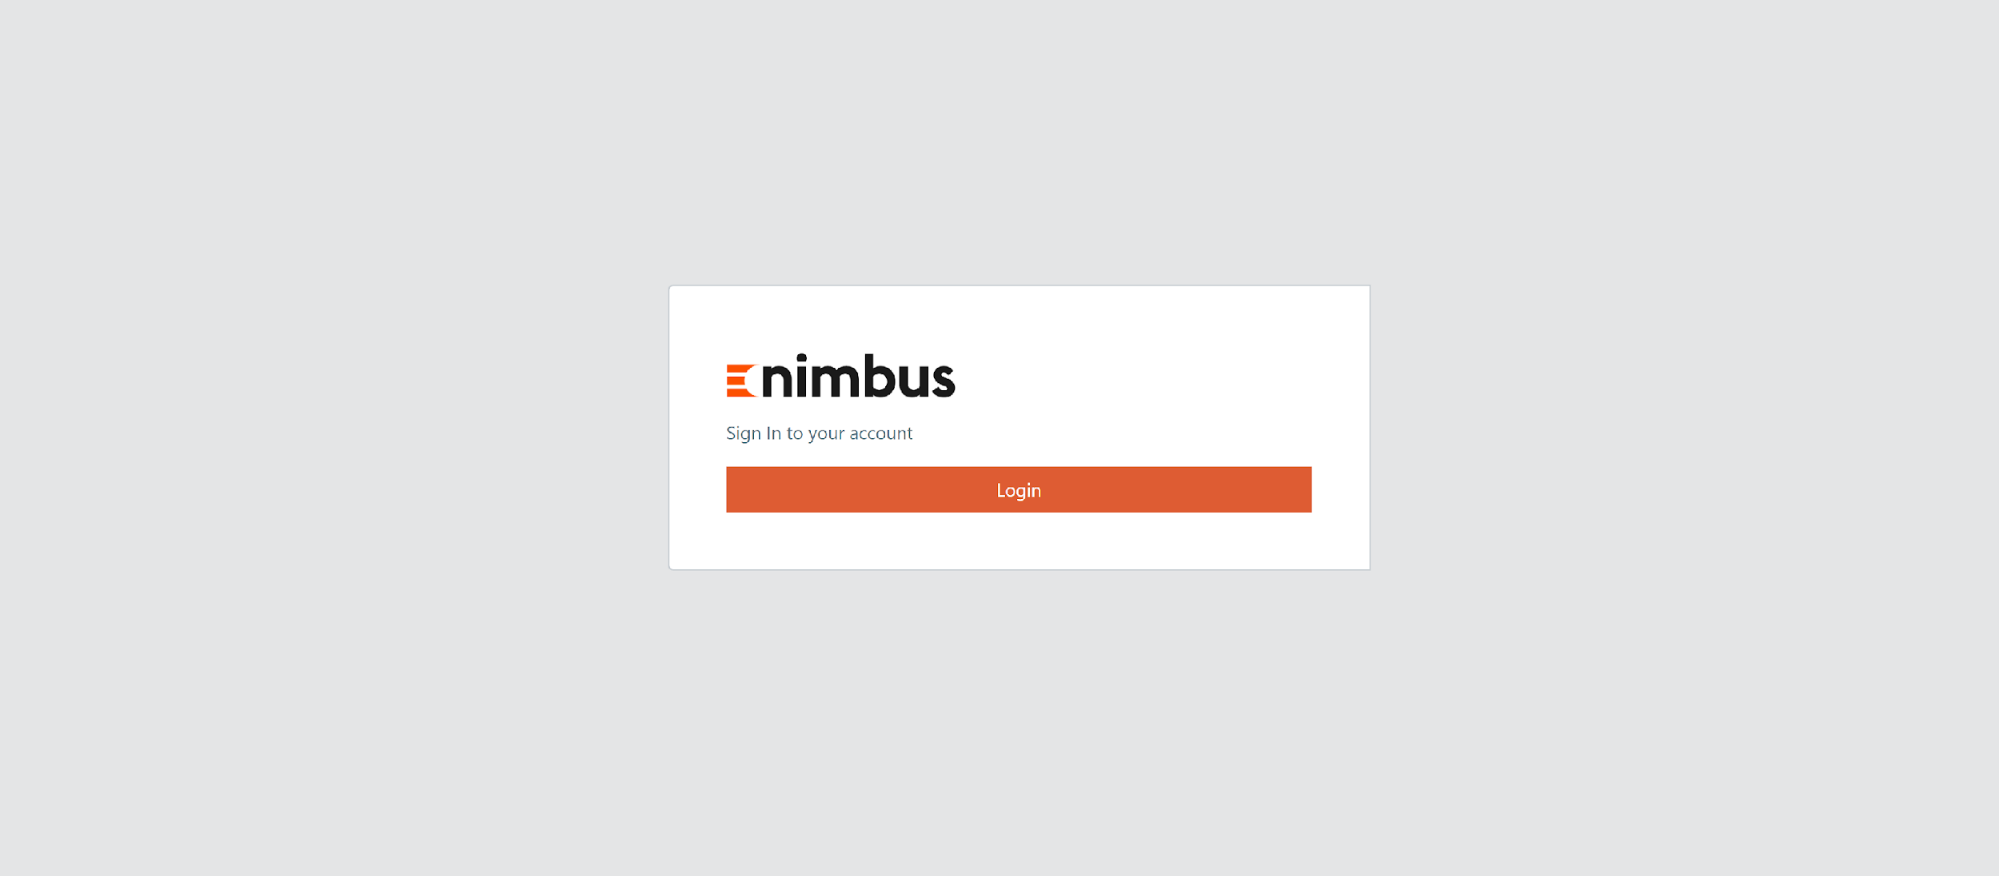
After clicking Back to application you will be redirected to the Nimbus login page. Press Login to proceed:
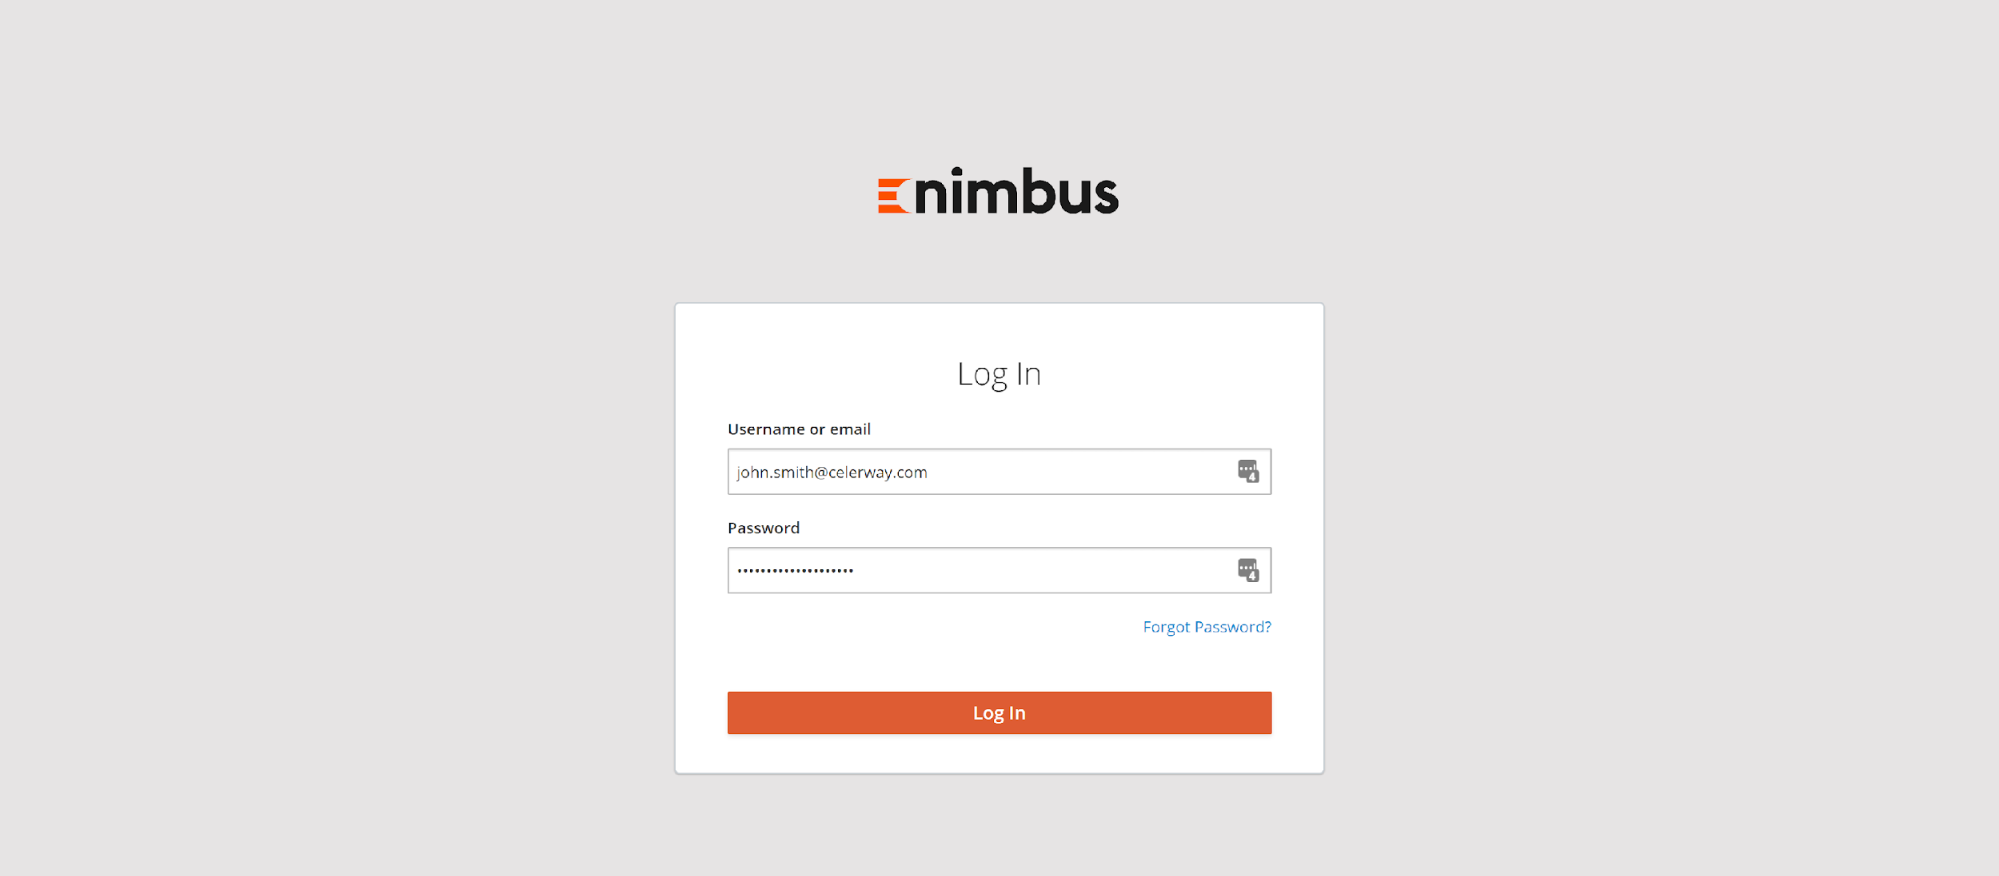
Enter your email address and the password you have just set up, then press Log In:
Set up 2FA authentication
To access Nimbus, users are required to configure MFA (Multiple Factor Authentication).
1FA (First Factor Authentication) is an email and password that you have just provided, for 2FA (Second Factor Authentication) Nimbus uses OTP (One Time Passwords) - 6 digit codes generated by an application installed on your mobile phone.
Nimbus supports Google Authenticator and FreeOTP mobile phone applications as OTP code generators.
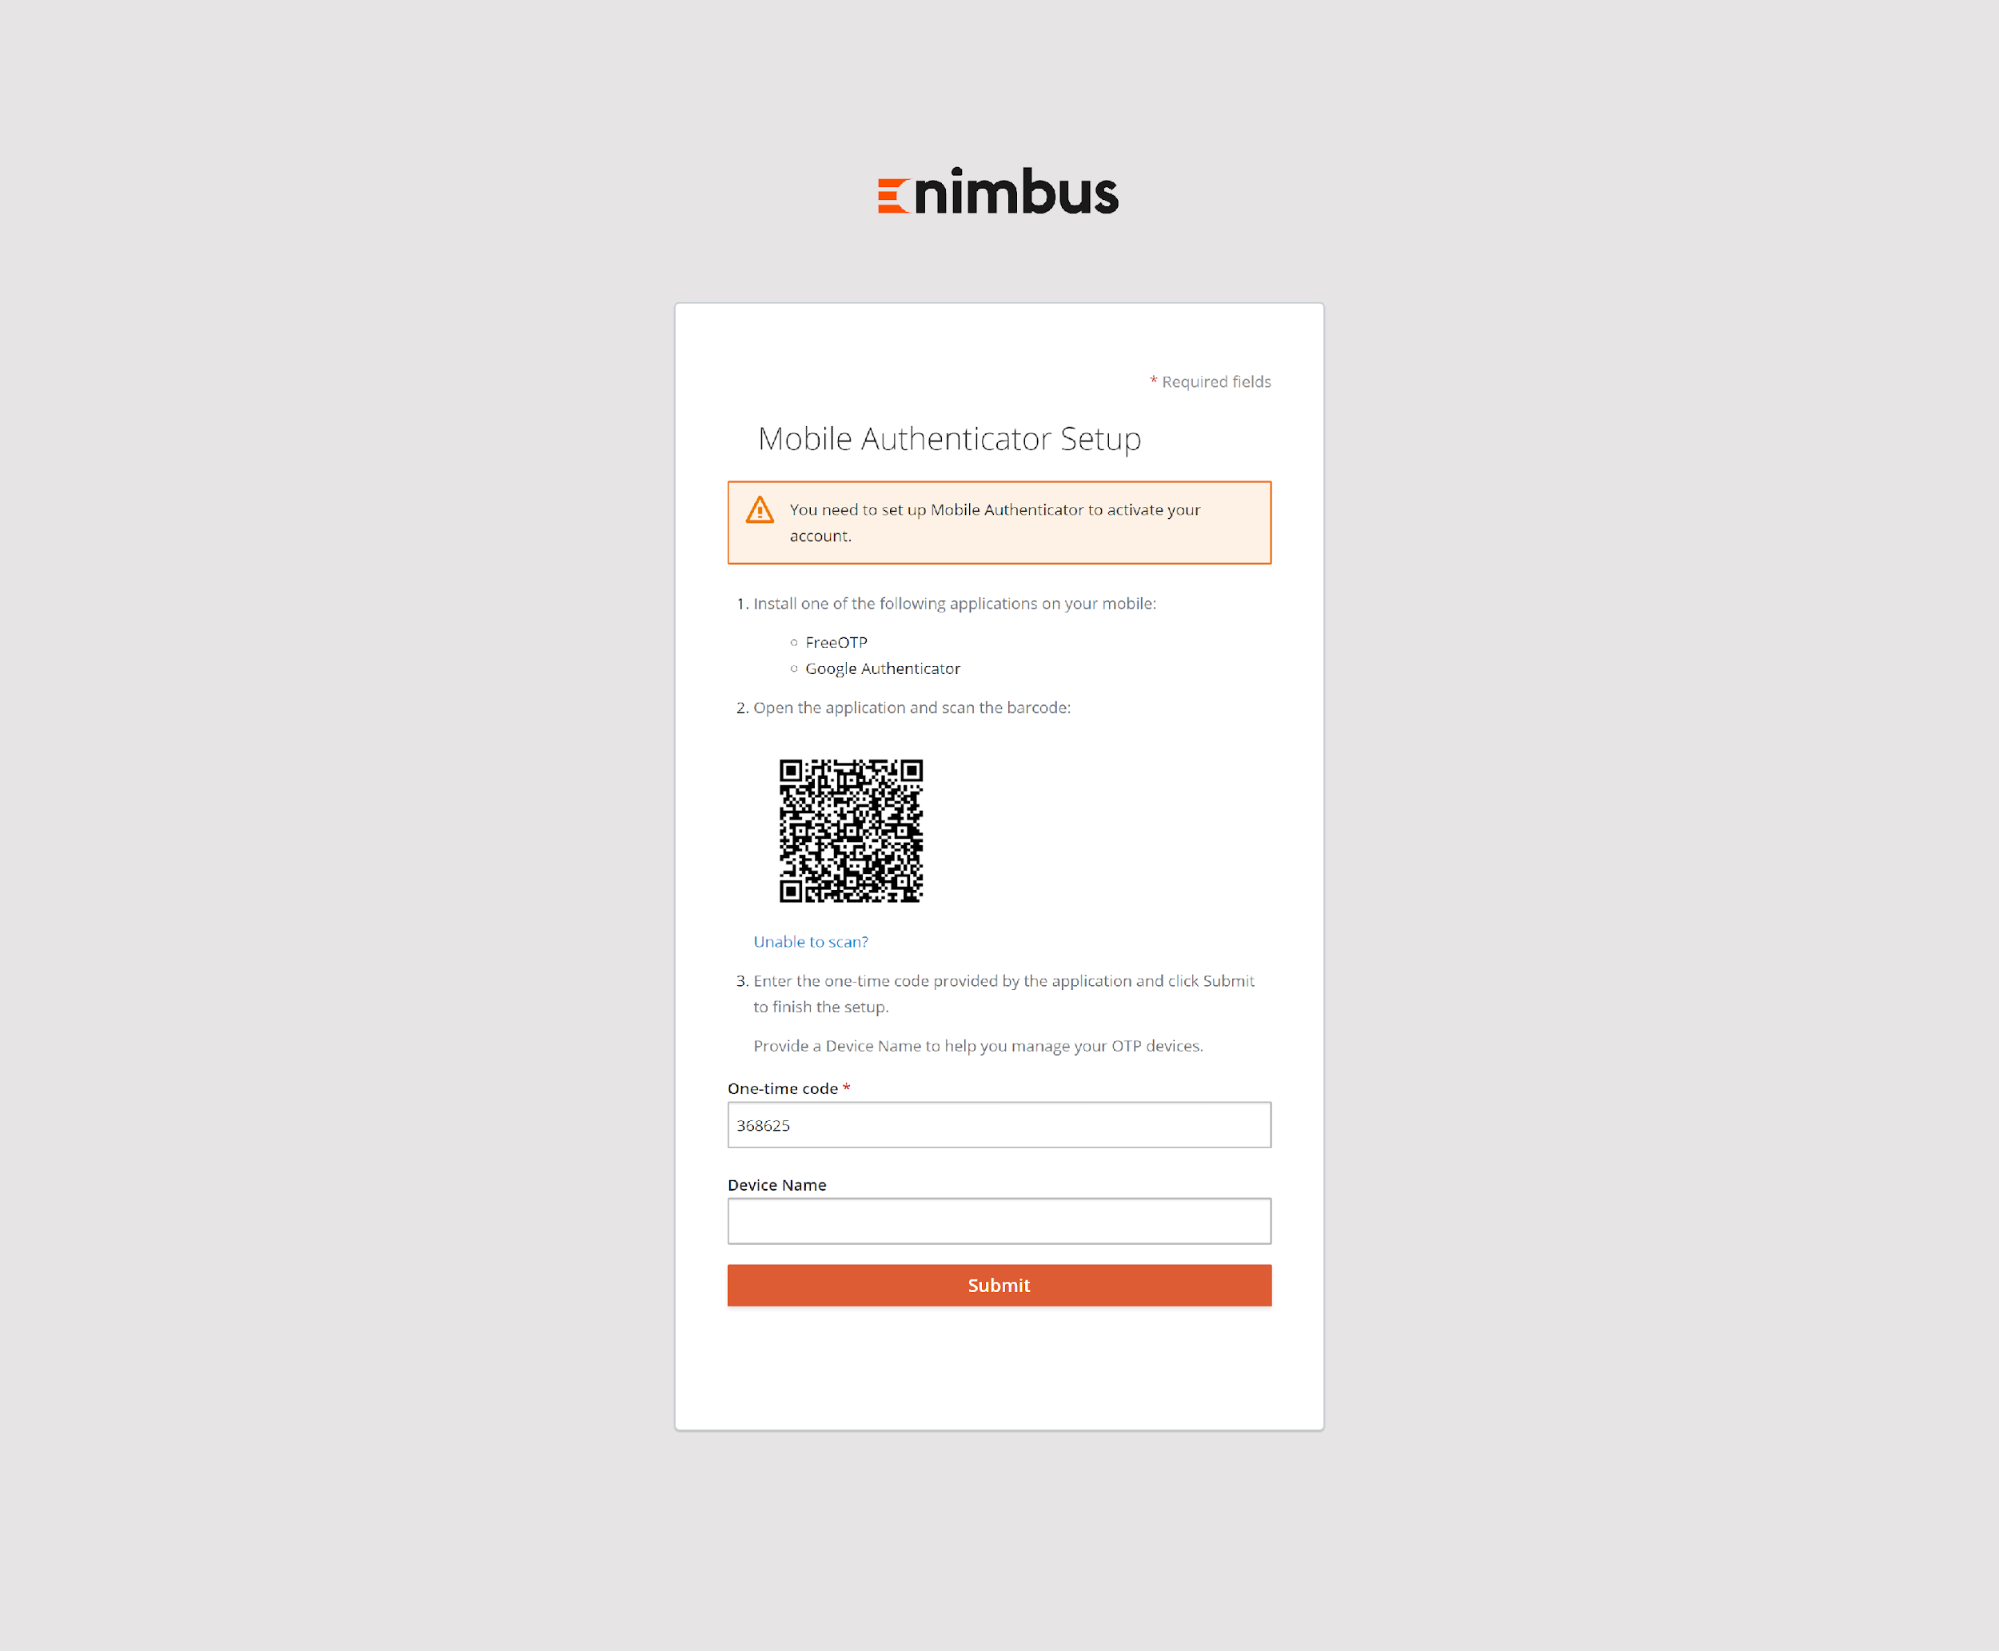
Nimbus asks to configure MFA during initial login:
Please, install Google Authenticator application on you mobile phone:
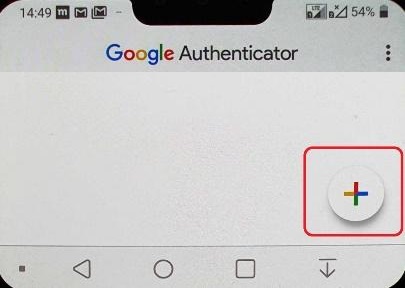
then, open the application and press "+" button:
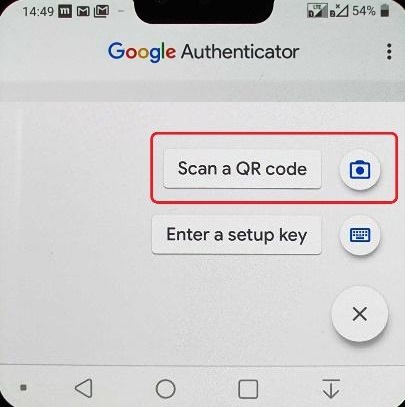
Next, press Scan a QR code and point the phone's camera to the QR code visible on your computer screen:
Google Authenticator is now configured:
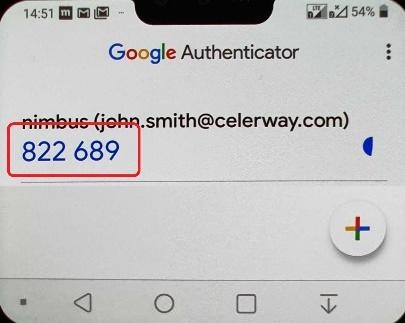
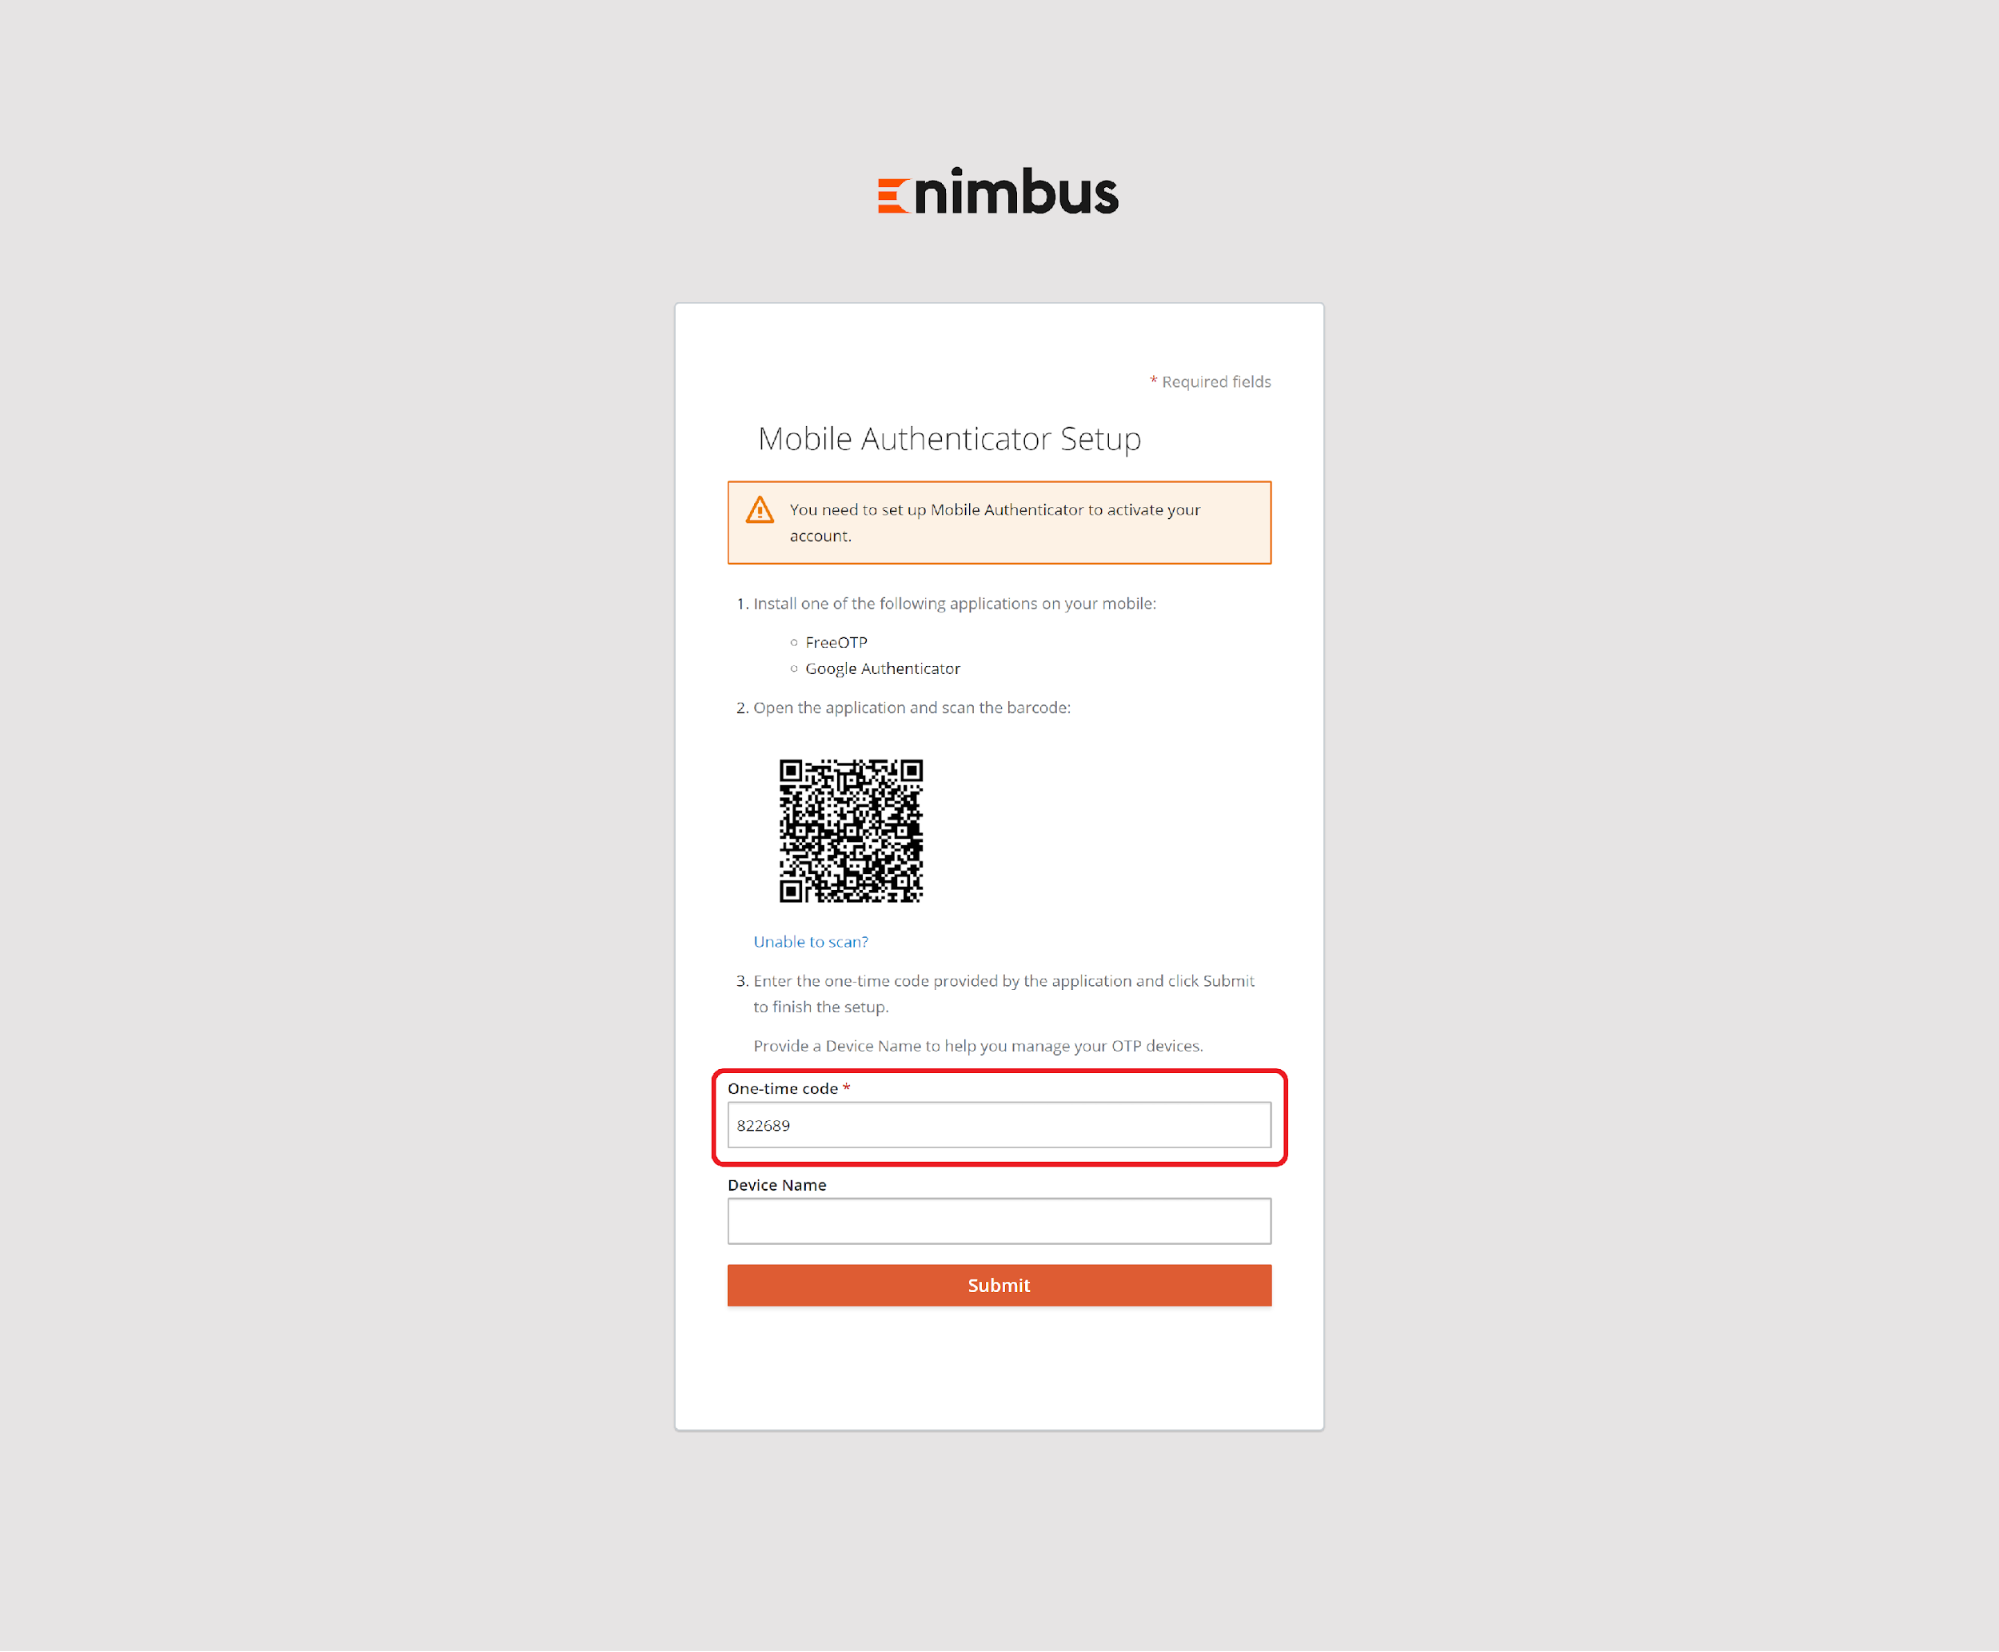
To finish configuration, enter the code visible in Google Authenticator to Nimbus (the code changes every 30 seconds). After pressing Submit, you will be redirected to Nimbus:
Subsequent logins
That's it, all is set up.
During subsequent logins you will be asked for your email address and password:
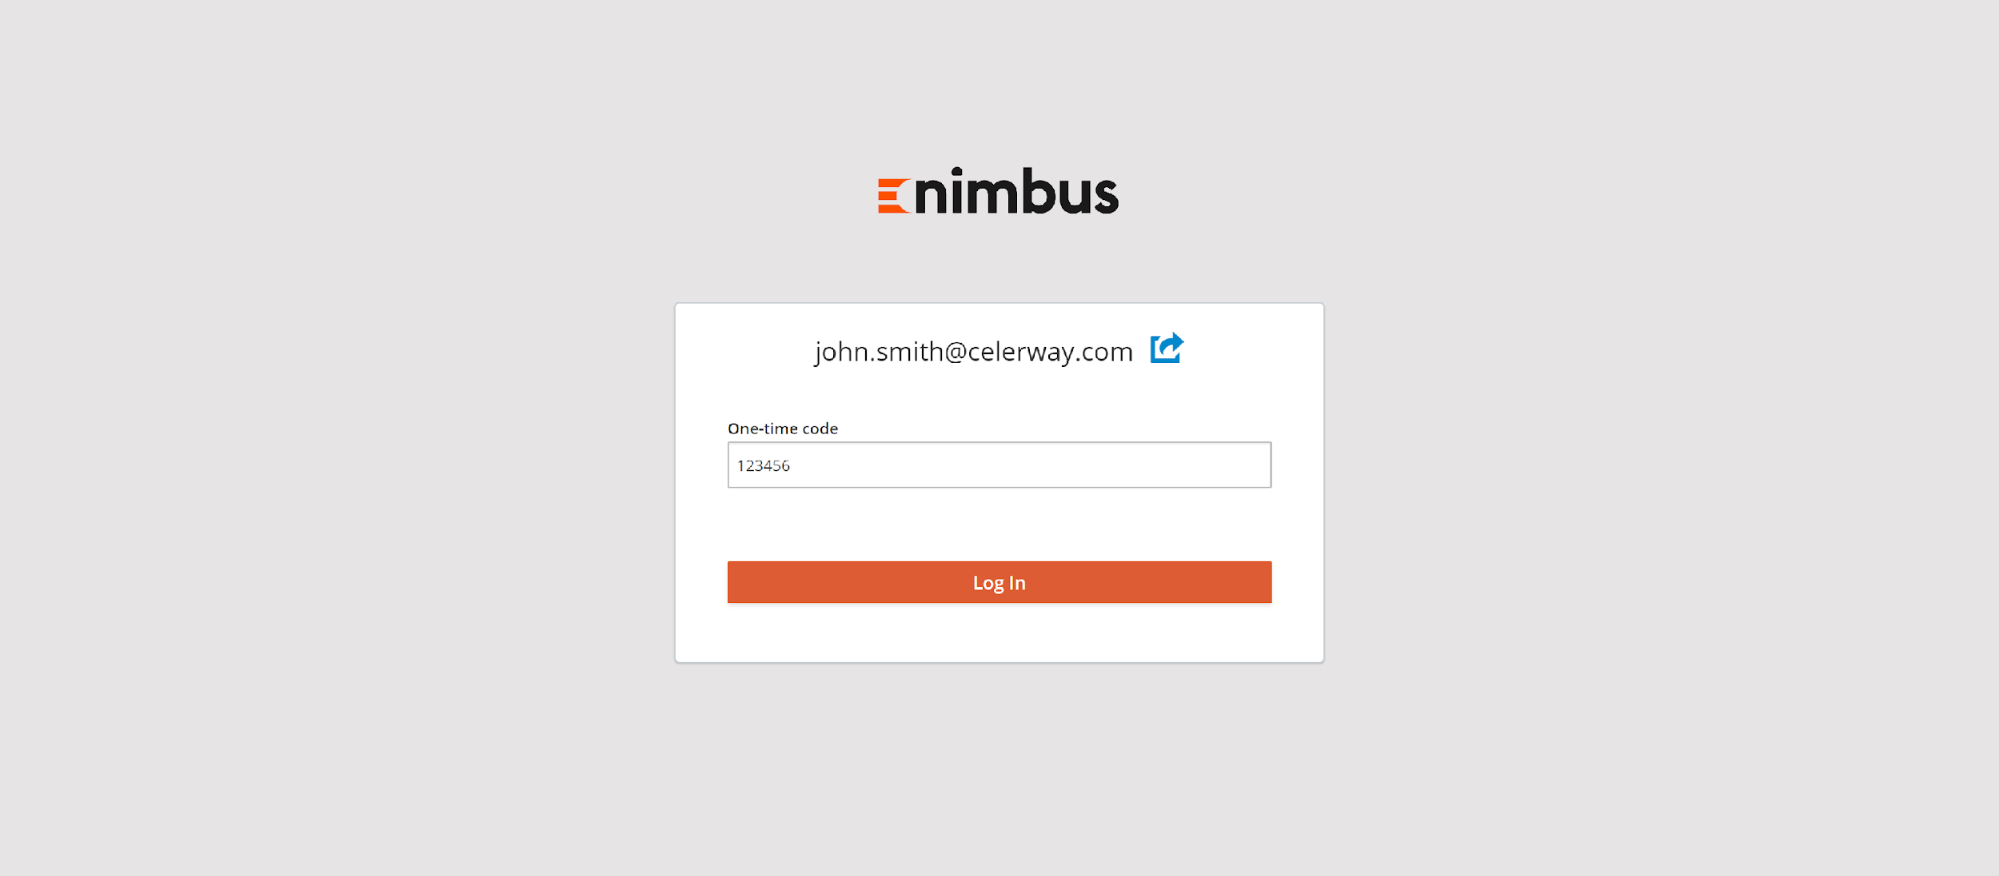
and also for the OTP code from your mobile device:
Changing password
If you would like to change your Nimbus passwords, you can request it on the Login page:
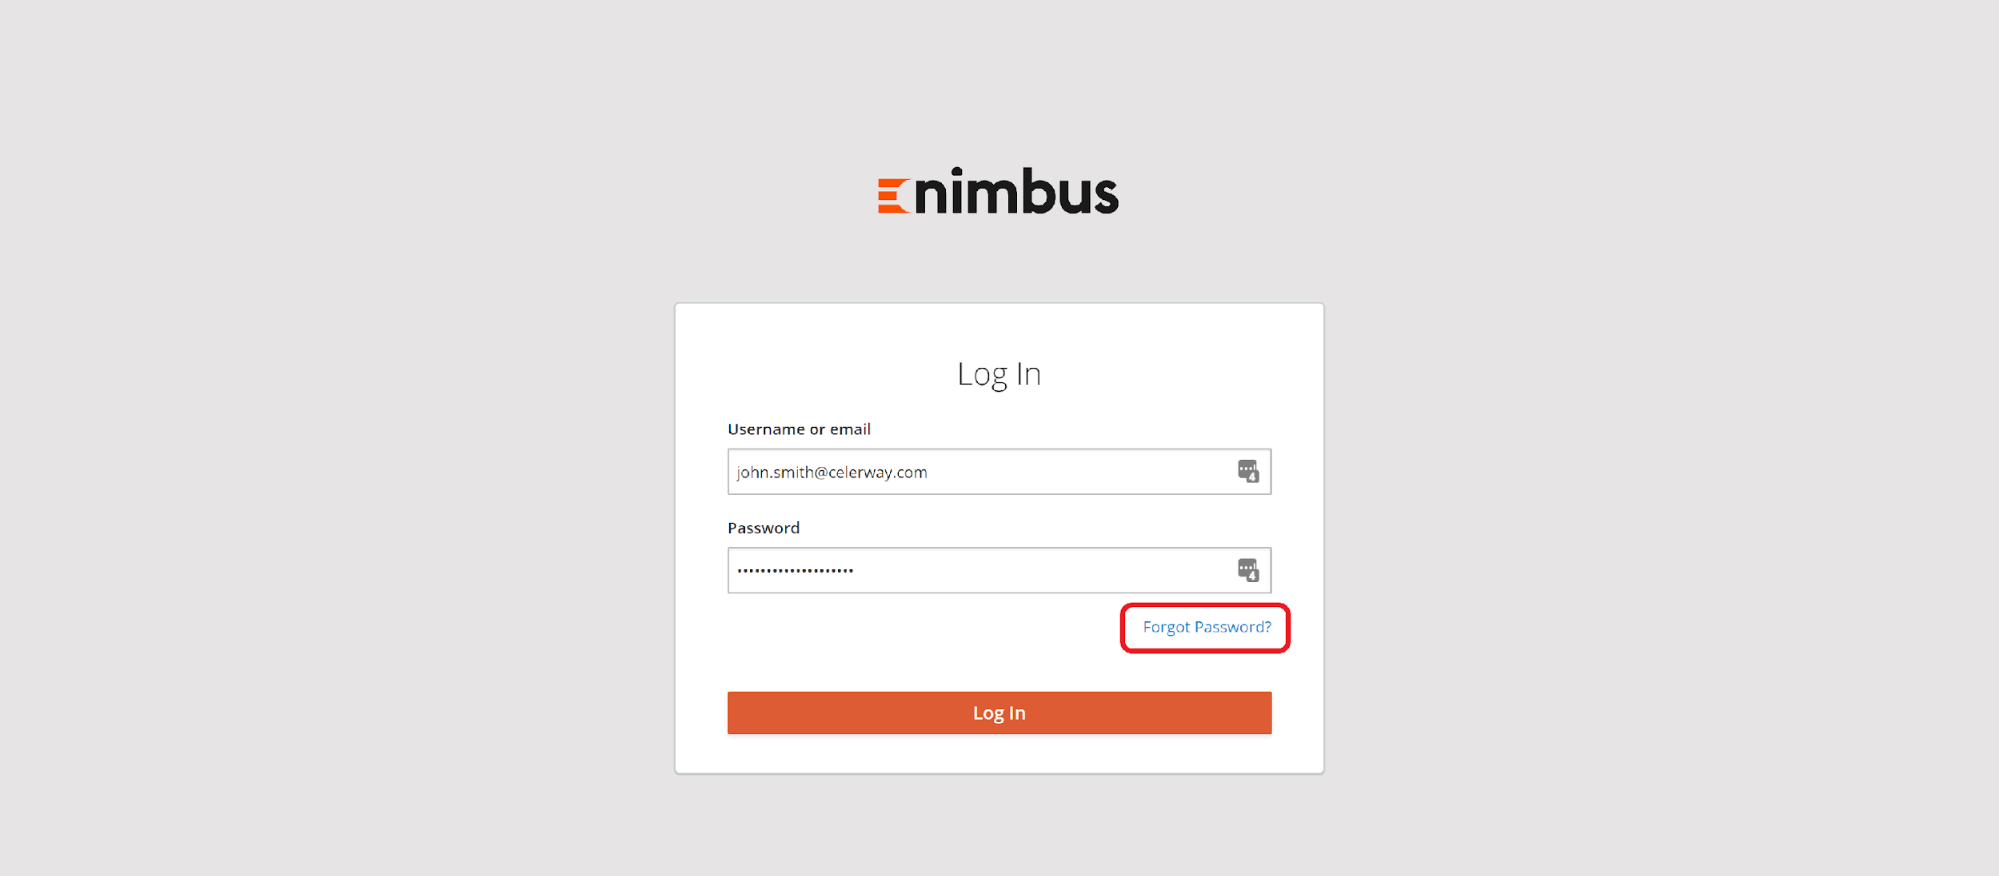
After clicking Forgot Password?, an email will be sent to your registered email address. You will need to follow the procedure described in Reset password email section.
It is also possible to change the password on User details page:
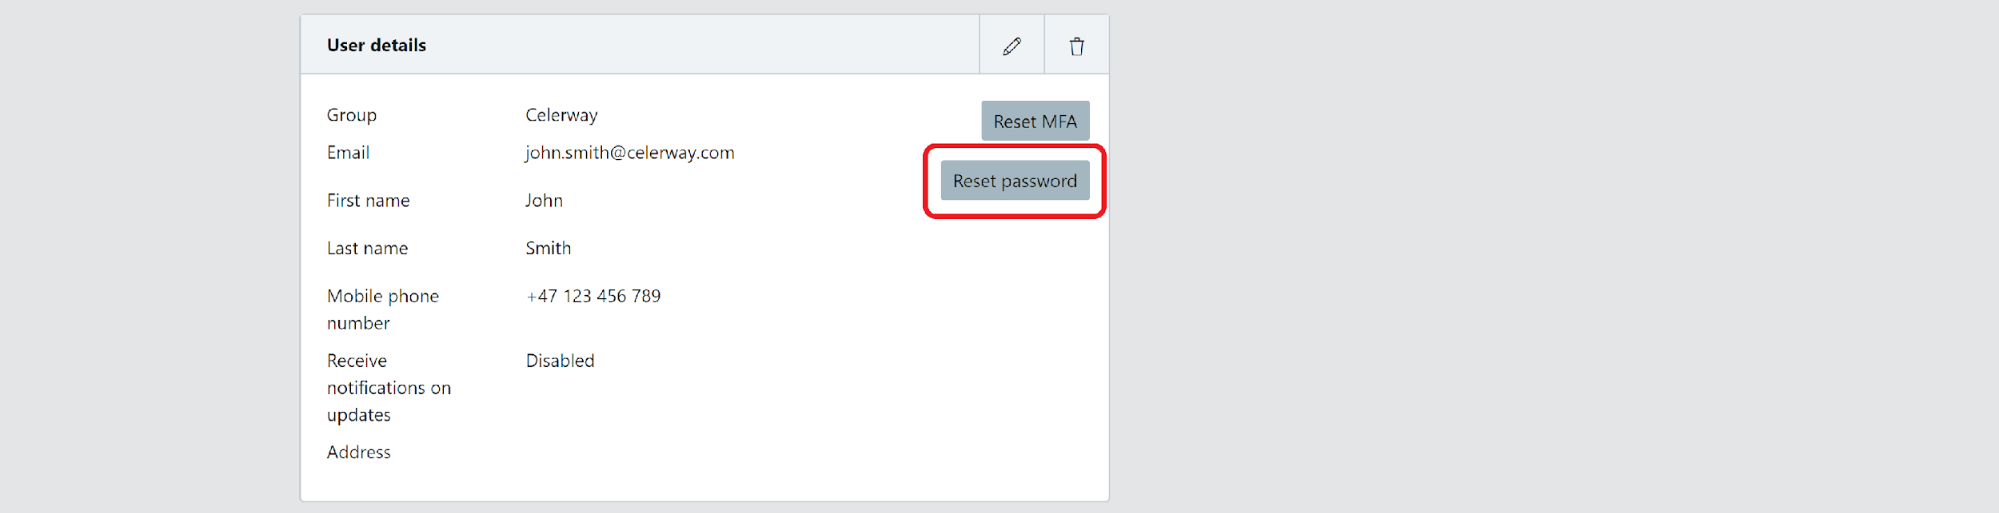
You can request the change yourself or your group administrator can do it for you. Again, after clicking Reset password an email will be sent to your registered email address and you will need to follow the procedure described in Reset password email section.
Changing 2FA device
If you would like to switch the device (smartphone) used for MFA for another one you can do that by going to User Details page and clicking Reset MFA:
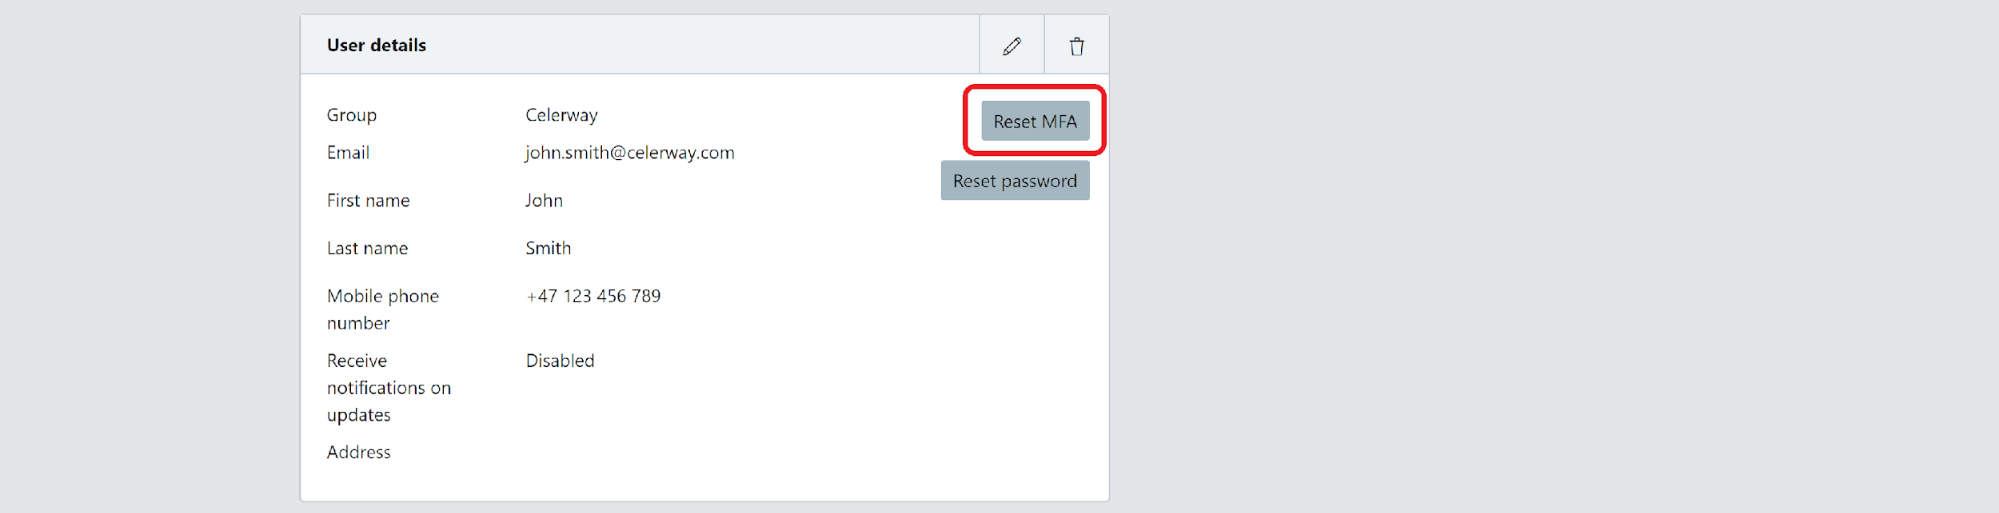
At the next login, you will be asked to complete the steps described in Set up 2FA authentication section. Additionally, an email will be sent to your registered email address. You can also start the procedure from the email by clicking Link to account update.
In case you are not able to perform MFA, e.g. you lost access to your mobile device, you will not be able to login to Nimbus and you will not be able to initiate the Reset MFA procedure yourself. In this case you need to contact your Group Administrator and ask to reset MFA for you.